Setup Your Team
We support three types of accounts: Individual, Team Owner, and Team Member. By default, all new accounts are set as Individual accounts.
When you invite others to collaborate, your account automatically becomes a Team Owner account, while accepting an invitation to join a team changes your account to a Team Member account. A Team Owner can manage only one team at a time, and a Team Member can belong to only one team at a time.
All resources belong to Team Owner, even if they are created by Team Members.
You can check Team details in Deepbits Team portal.
Becoming Team Owner
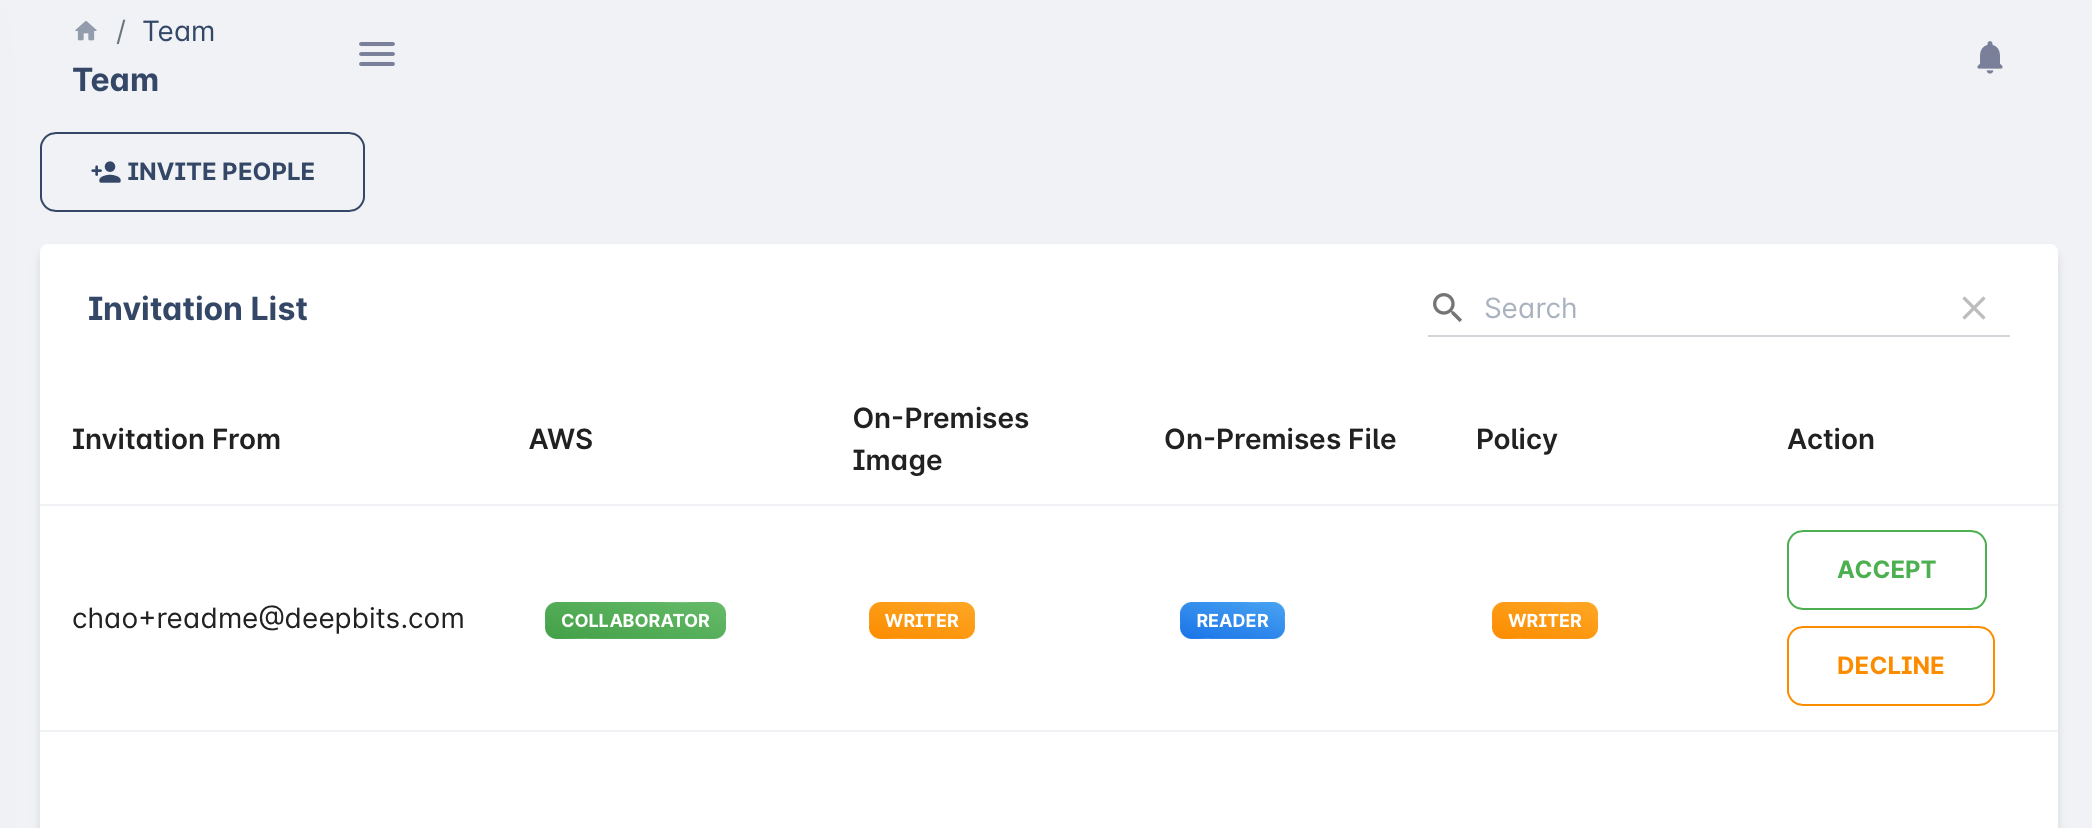
Go to Team portal, and click “Invite People“ button at the top of the page.
You will see the below popup:
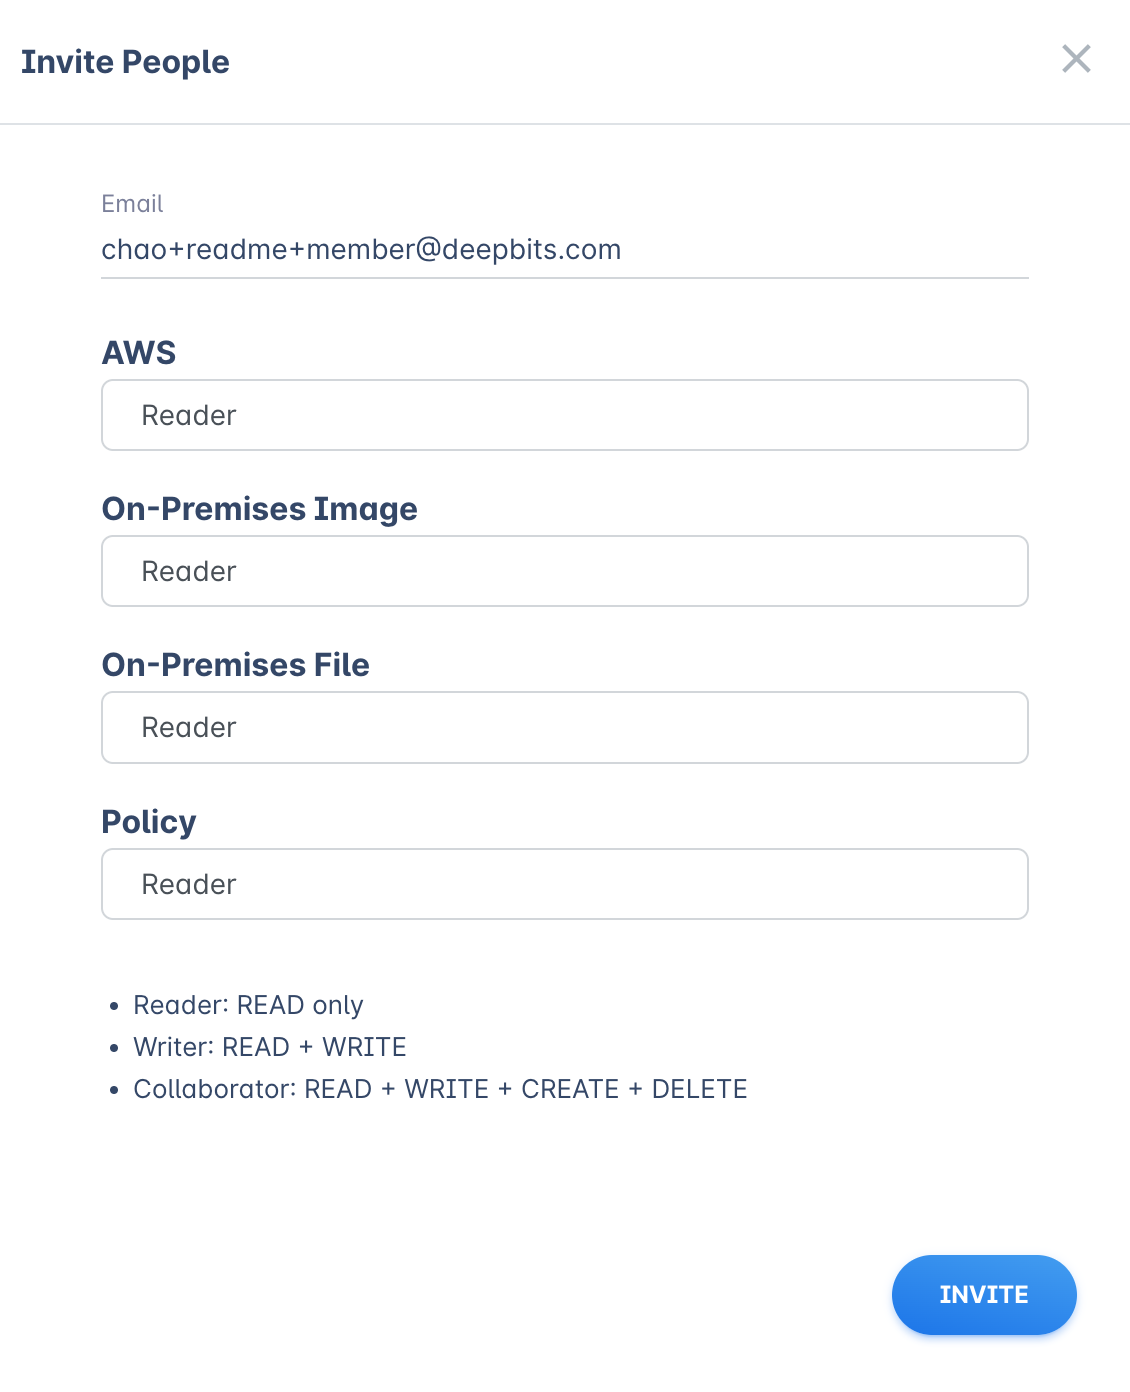
You can invite anyone to join your team by entering their email address. If they haven’t used Deepbits before, they can sign up directly from the invitation email or by visiting <https://app.deepbits.com>.
The table below illustrates the resources a Team Member can access and outlines their roles in accessing these resources.
| Resources | Reader | Writer | Collaborator |
|---|---|---|---|
| AWS | |||
| On-Premises Docker Image | |||
| On-Premises File | |||
| Policy |
Our roles include:
- Reader: READ only
- Writer: READ + WRITE
- Collaborator: READ + WRITE + CREATE + DELETE
If you’re creating a team for the first time, you’ll see below message:
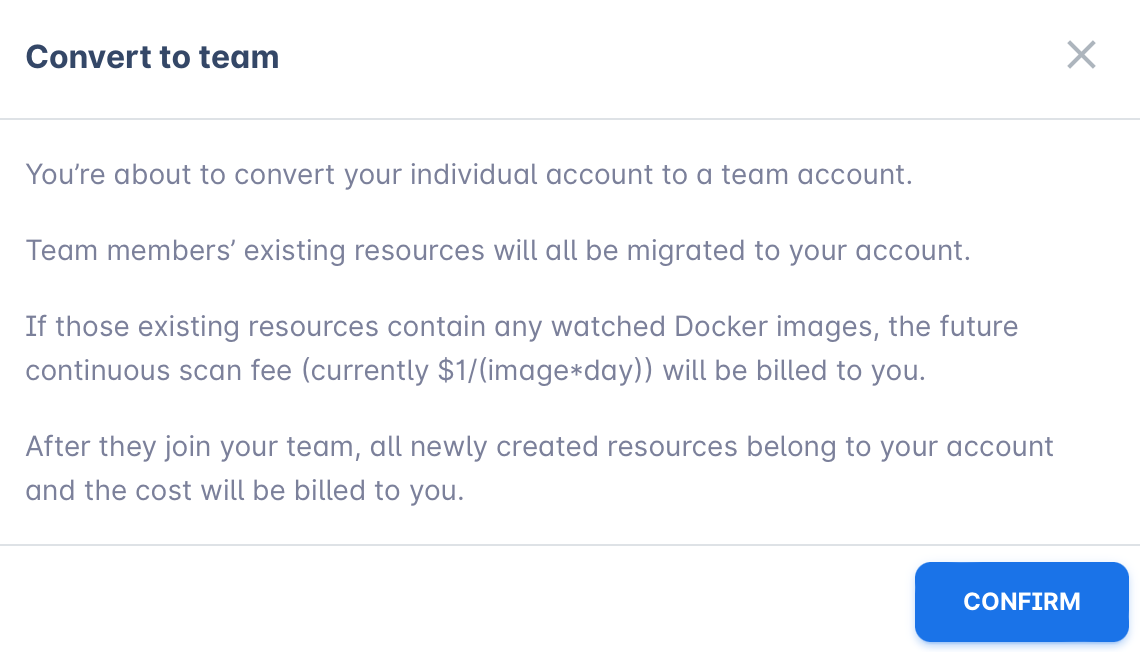
When team members join, their existing resources (like Docker images, policies, and AWS accounts) will be transferred to your account. All new resources created after they join will also belong to your account.
Click “Confirm” and click “Invite“ again to invite this user.
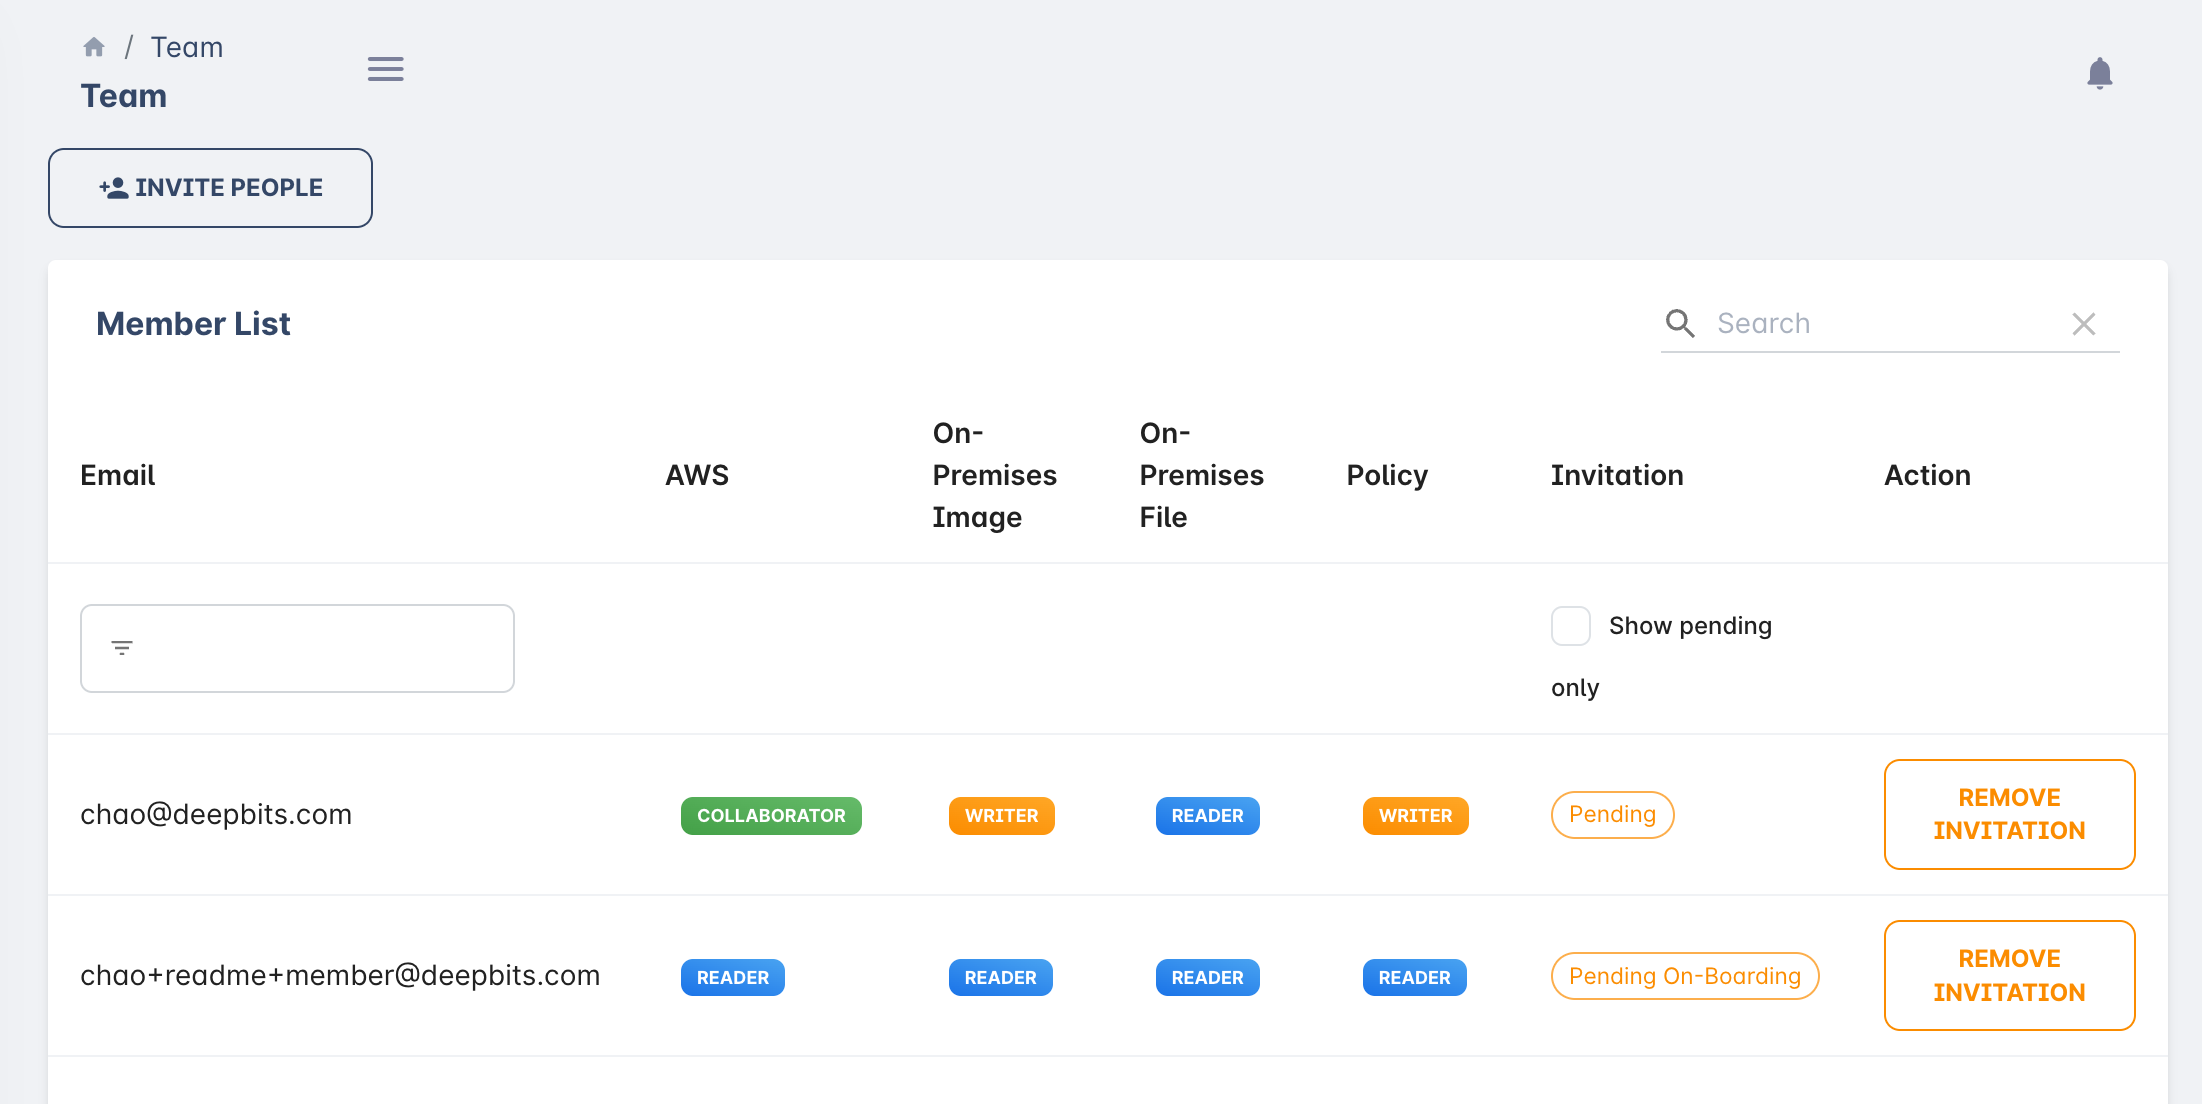
Invitation List
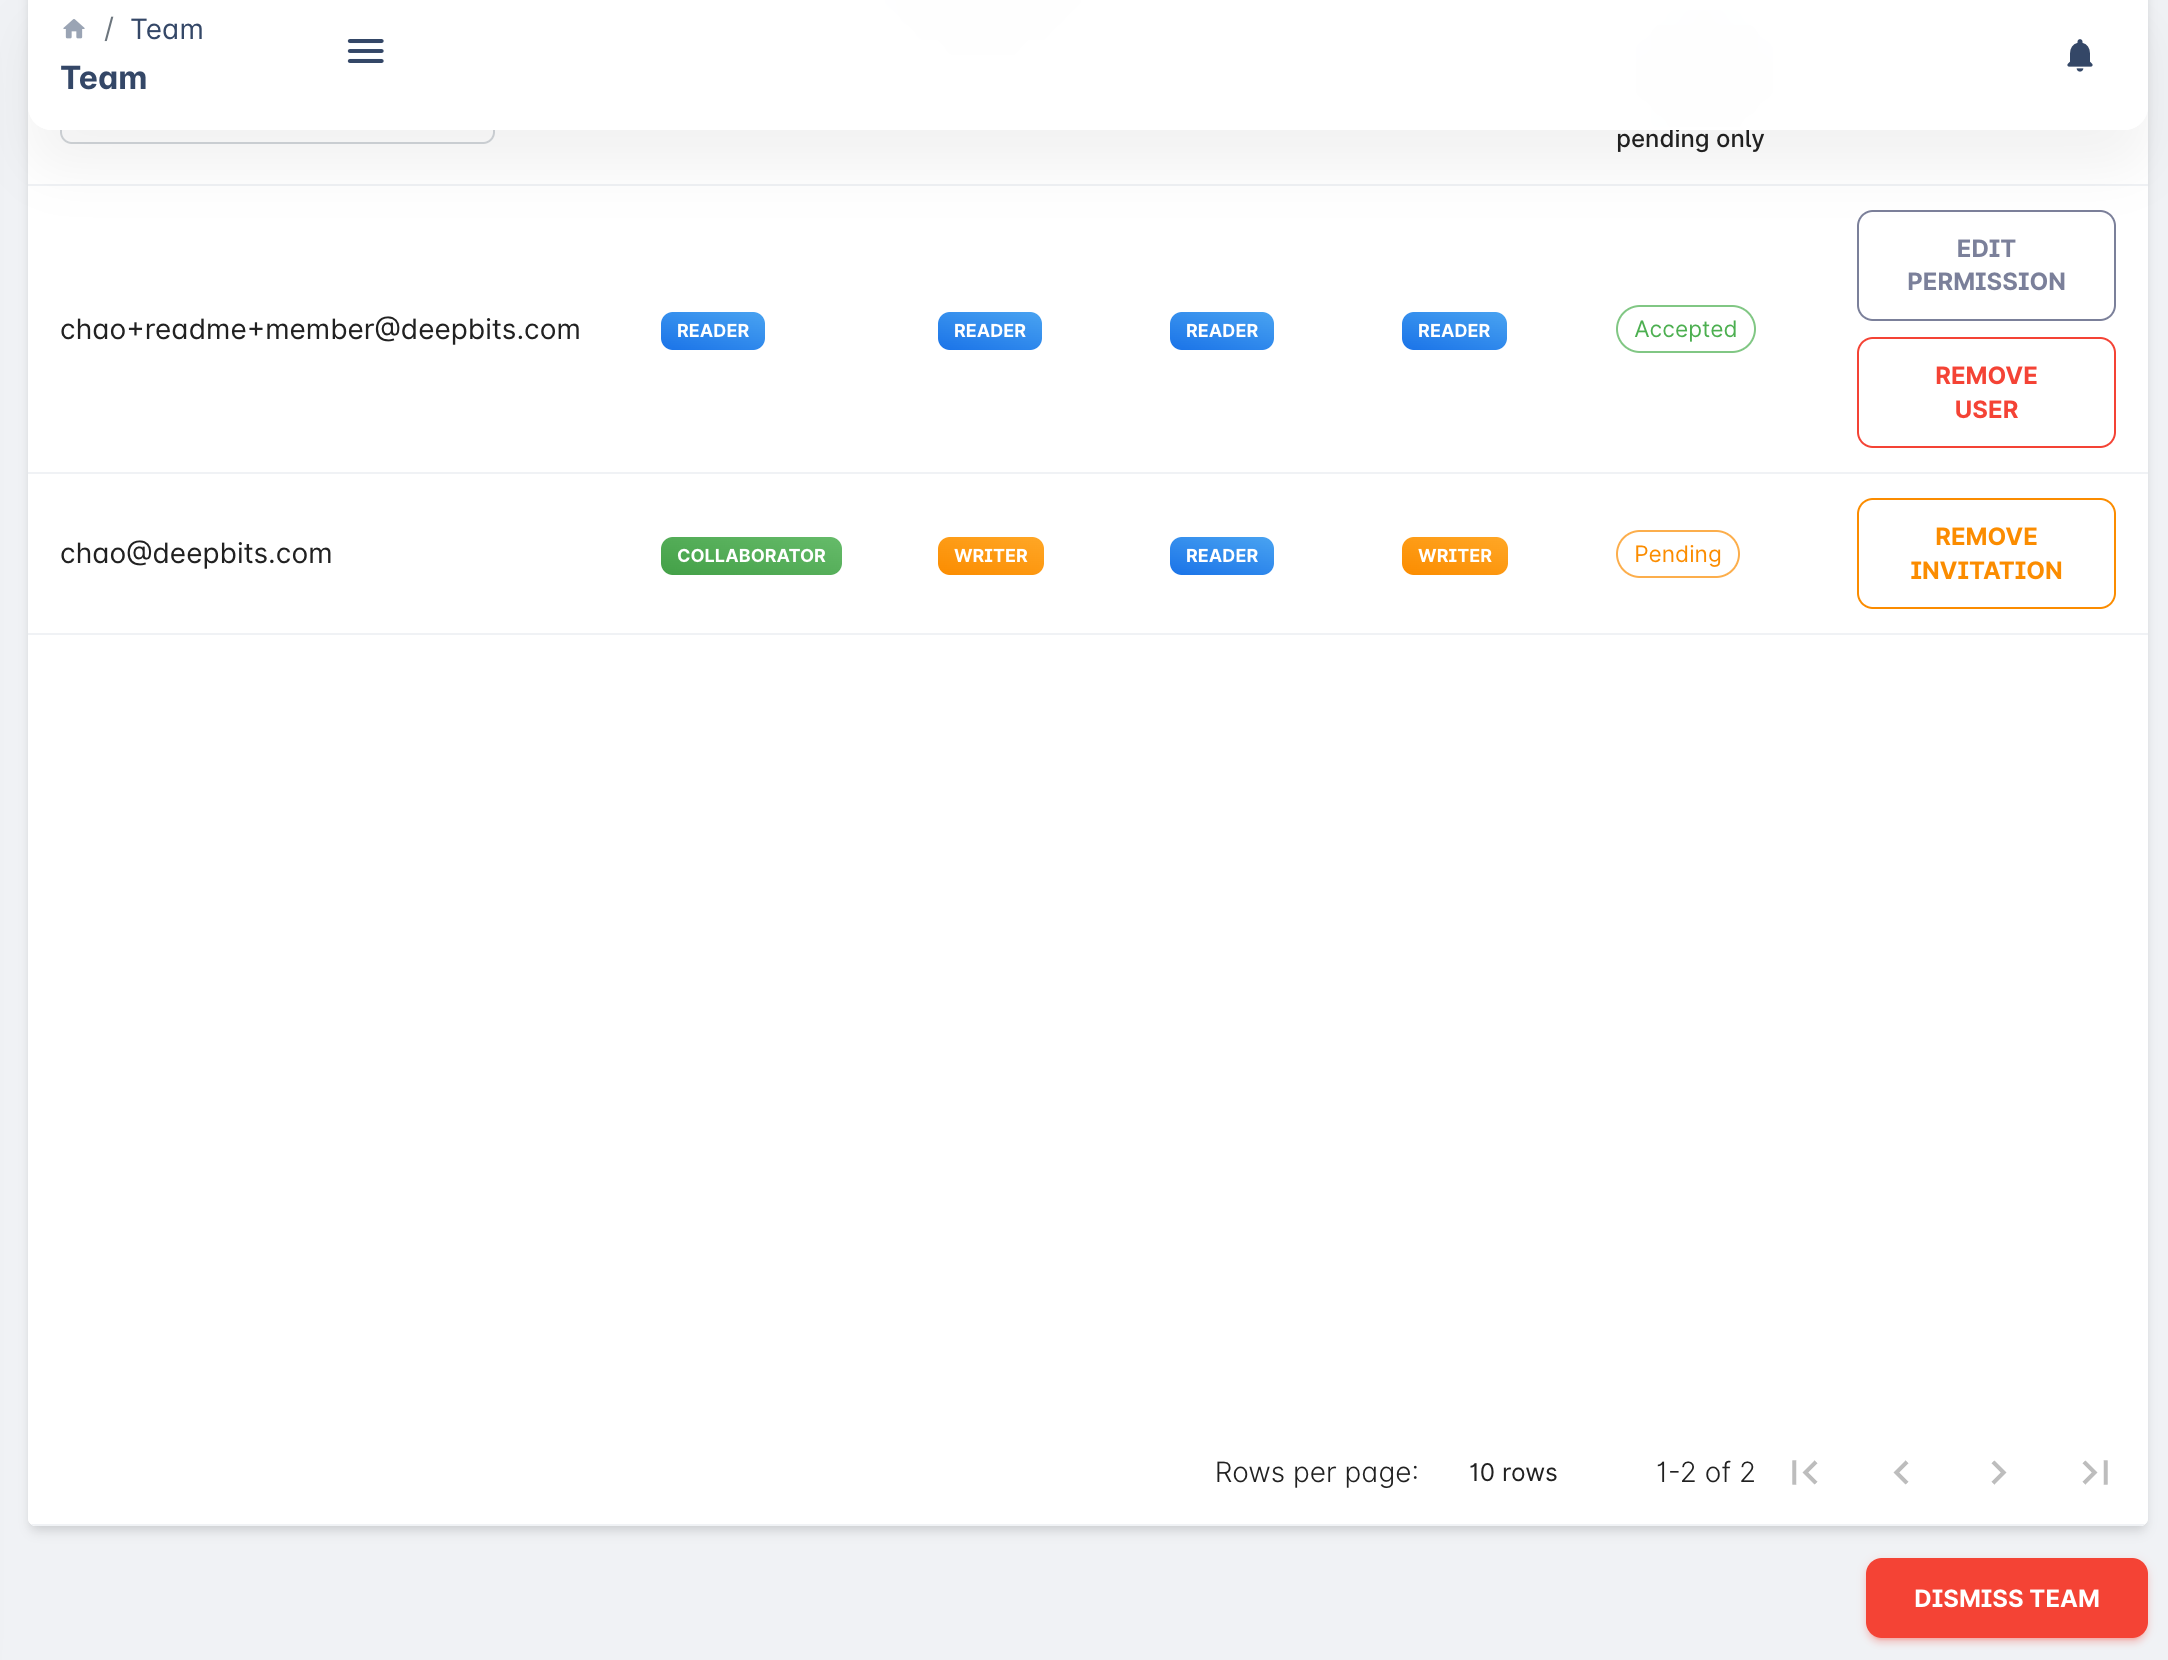
After sending an invitation, you can view a list of your team members, with the option to filter by pending invitations using the “Show pending only” checkbox. A “Pending On-Boarding” badge indicates that the user has not signed up yet, and you can also remove invitations if necessary.
Team Member Permission Management
If you’re a Team Owner, you can manage all members’ permission in Team portal.
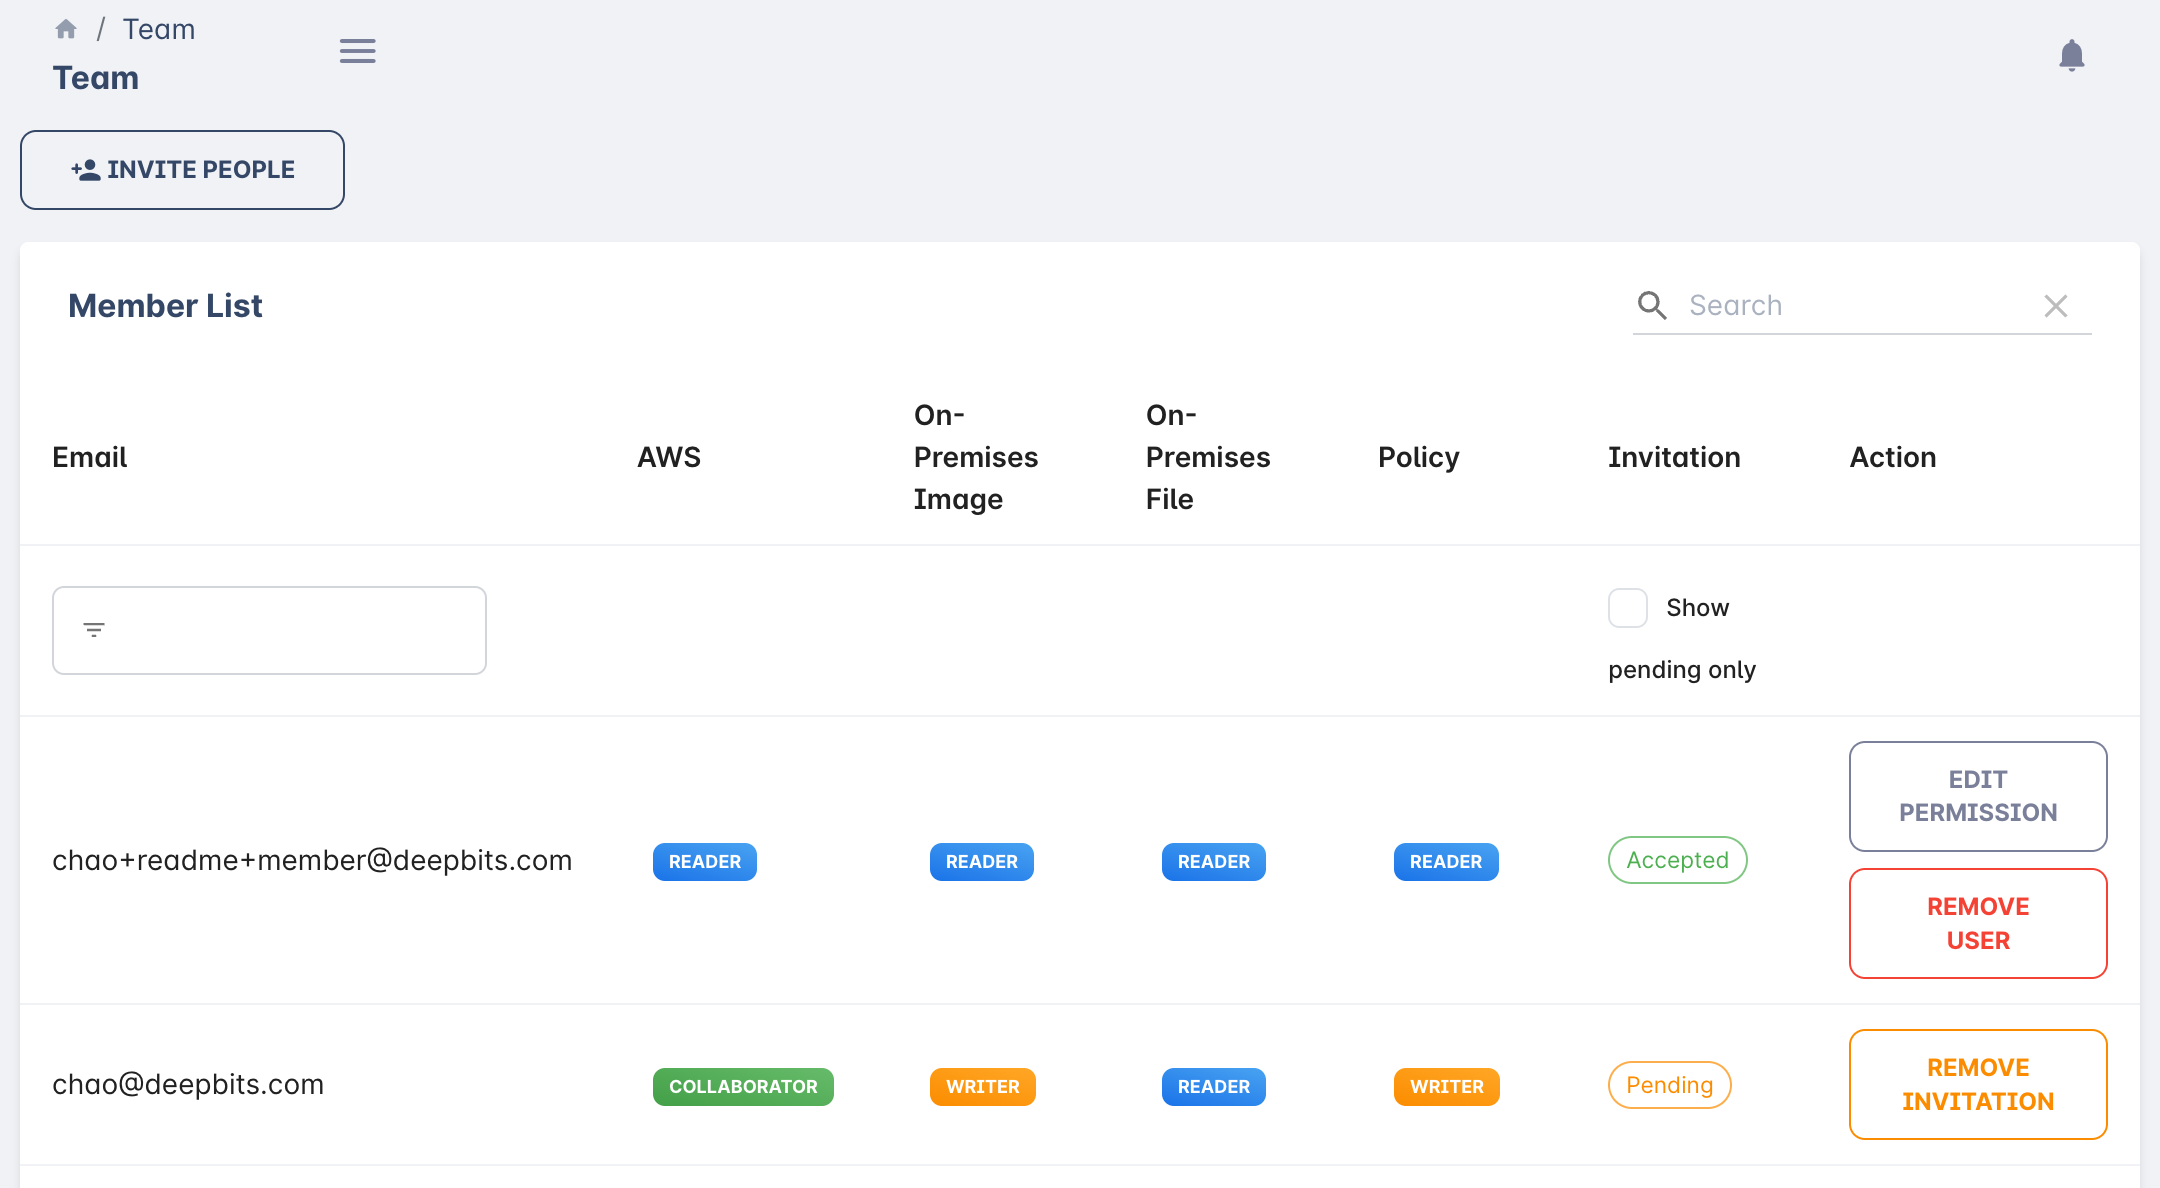
Edit team member permission
To change a Team Member's permissions, click the “Edit Permission” button in the Action column and adjust the permissions for each feature in the popup dialog.
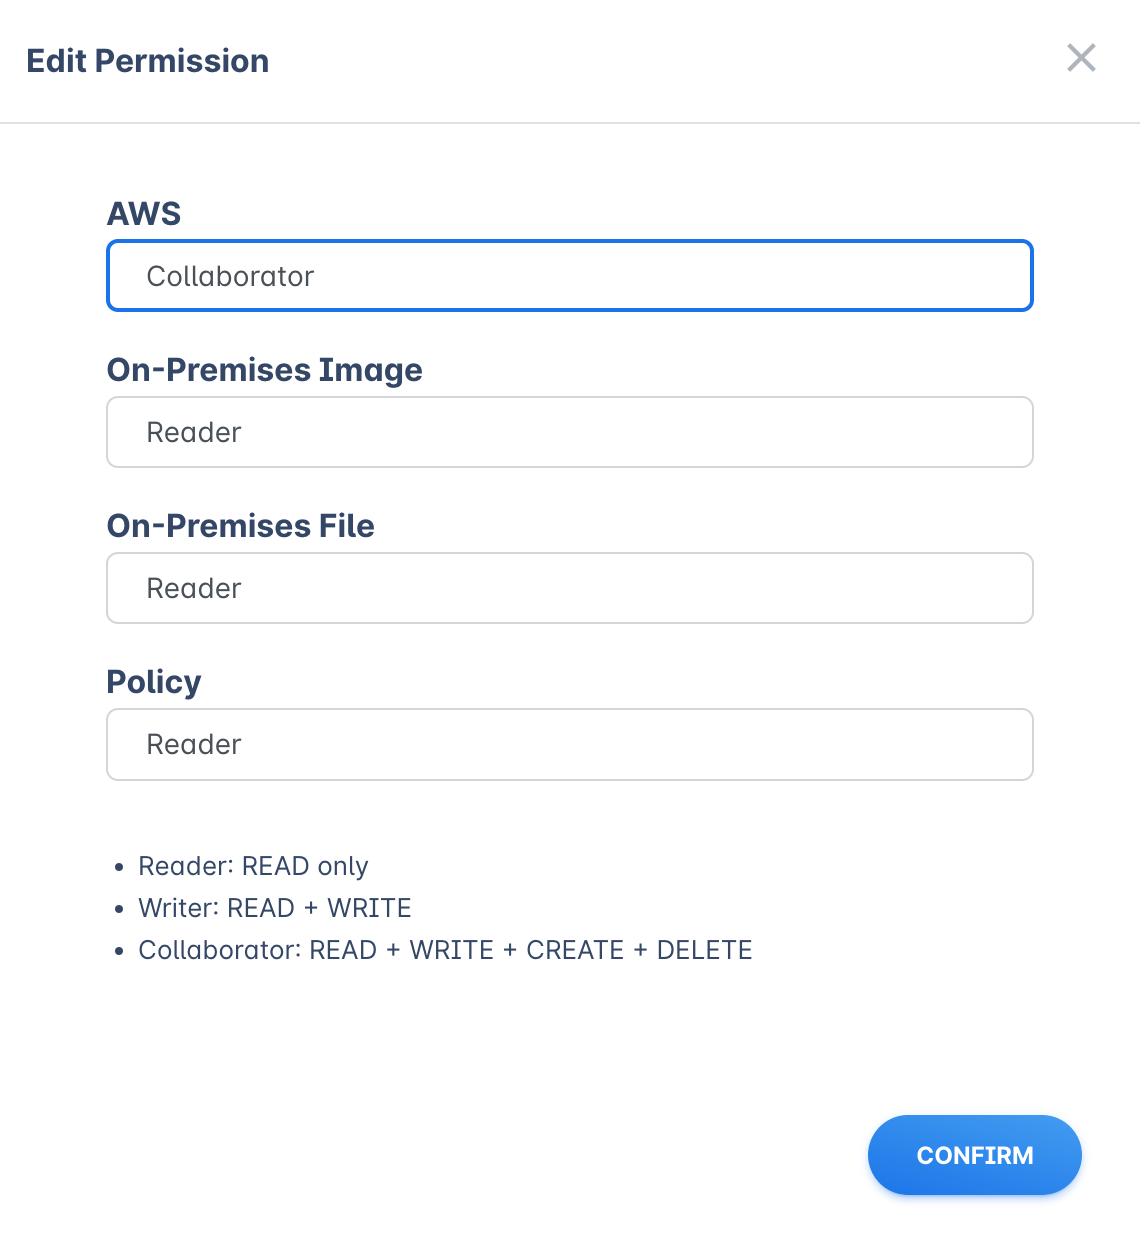
Click “Confirm” to save.
Remove a team member
To remove a Team Member from your team, click the “Remove User” button in Action column, and choose “Delete”.
Removing a Team Member will change this member back to Individual.
Team Member can also leave your team from their side if they choose to.
Dismiss team
If you’re a Team Owner, you can easily dismiss your team and turn yourself back to Individual account.
Go to Team portal and click “Dismiss Team” button at the end of the page.
All your Team Members will be removed, however, anything created by your Team Members still remain in your account.
Joining a Team
If you receive an invitation, you can click the link in the email or visit our Team portal to view the invitation details and choose to accept or decline it.
Warning All resources under your account will be transferred to the Team Owner once you accept the invitation.
Accept an invitation
If you choose to accept an invitation, you will see a confirmation dialog:
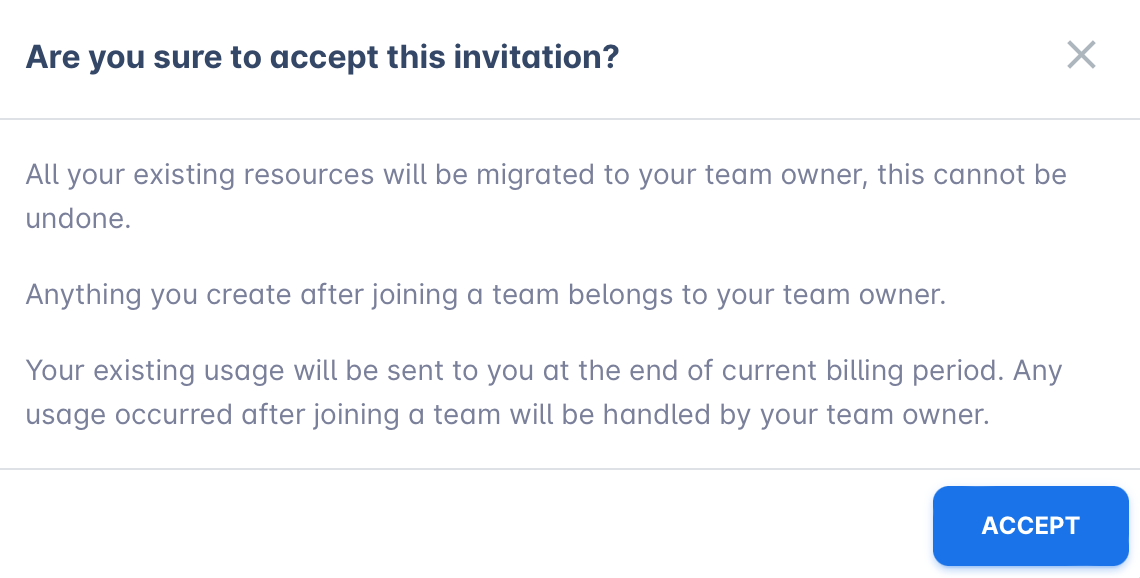
All your existing resources will be migrated to your team owner, this cannot be undone.
Anything you create after joining a team belongs to your team owner.
Your existing usage will be sent to you at the end of current billing period. Any usage occurred after joining a team will be handled by your team owner.
Click “Accept” to join this team.
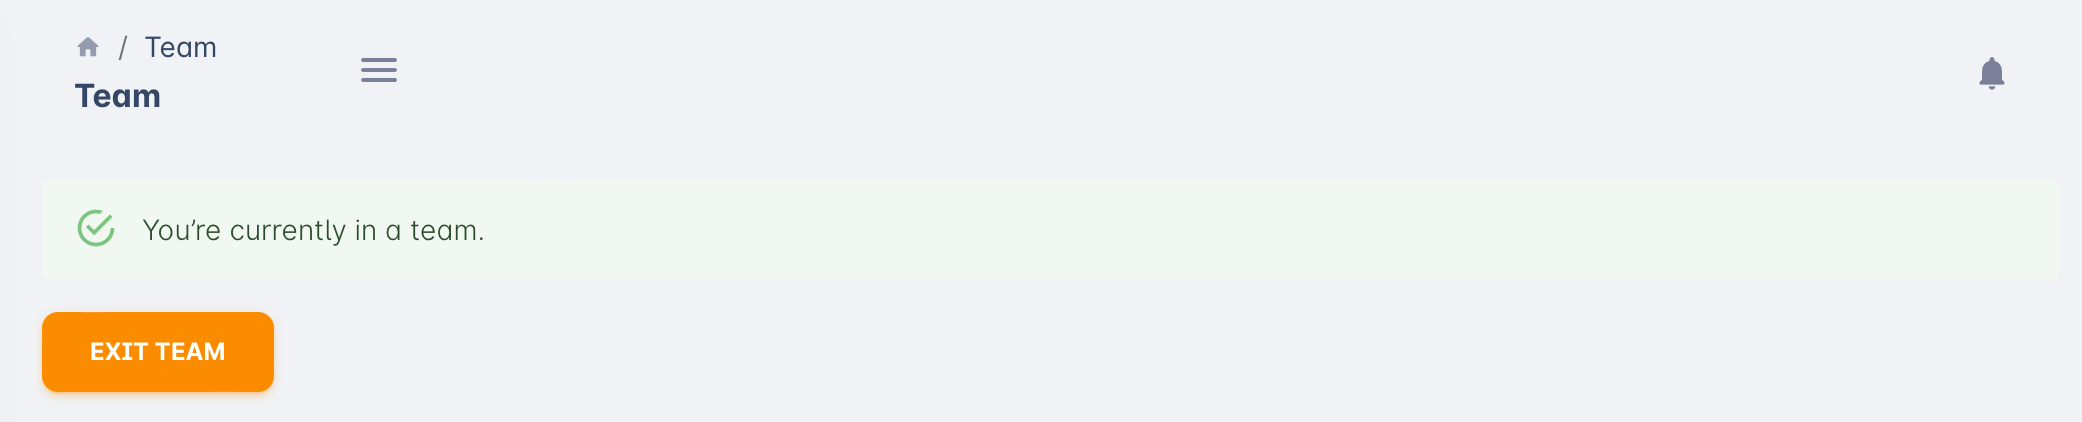
Exit team
If you’re a Team Member, you will see the option to exit a team in Team portal.
Exiting a team will turn your account back to Individual.
Since all your resources are transferred to the Team Owner when you join a team, and any new resources you create within the team also belong to the Team Owner, you will need to recreate those resources if you exit the team.
Updated about 1 month ago